The Photo tool allows the user to take a photo or import a photo from the mobile gallery.
The options for the Photo element
Once the Photo element has been inserted into your form, access its options by clicking on![]() They are divided into the tabs Features, Visibility, Display, Advanced and Help.
They are divided into the tabs Features, Visibility, Display, Advanced and Help.
Let's take a look at them in detail!
- The entry required option: by ticking this box, when entering the form, you make it mandatory to enter the element. The user will be obliged to fill it in to be able to save the data
- Several pictures allowed: if you activate this option, you can define a minimum and/or the maximum number of photos. On the other hand, if you do not tick the box, the user will only be able to insert one photo when entering their data.
Note: If you enable this option, it also multiplies the number of tags.
- Resize: the default size is 768 pixels to obtain an image with low file size. The data will be sent to our servers more quickly if you add attachments that are less voluminous. The quality of the photos will still be adequate for reading on a screen or for printing. However, if you wish to improve the quality of the photos, it is recommended to increase this value.
Tip: Do not hesitate to consult the additional information by clicking on ![]()
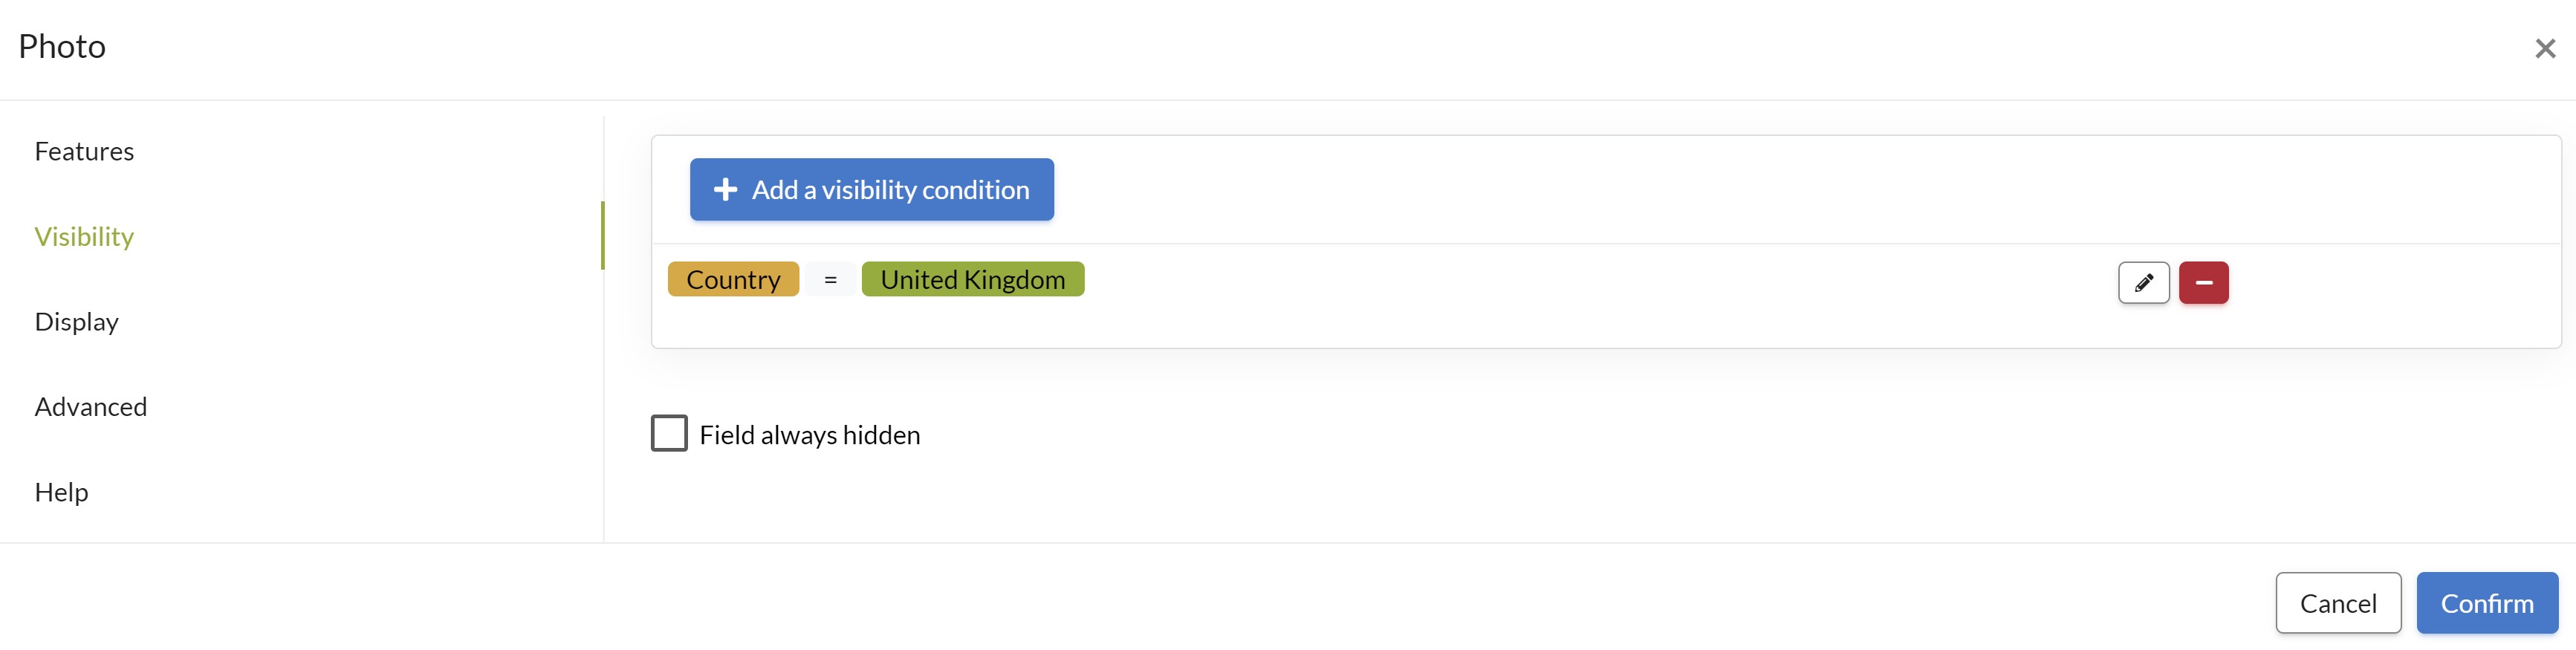
The visibility tab
As with all field types, you can :
- Set one or more visibility conditions: the field will only be displayed if the condition(s) are met
- Check Field always hidden: the field will always be hidden when the data is entered
- Do nothing: the field will always be visible during data entry
Warning: Remember to check the Display hidden fields option on your export files if you have chosen to hide the field systematically or conditionally.
The display tab
This tab allows you to customise the way the field is displayed on the mobile application when you enter it. Here are the options available to you
- Remain on the same line when displaying on a mobile: this option allows two fields to be displayed side by side when data is entered, provided you have activated the Allow multiple fields to be displayed on one line option in the mobile application's settings
- Size of the item: This is the font size of the field name when entering data. You can choose between Normal, Bigger or Smaller
- Color: the field name is displayed in the colour of your choice
- Icon: allows an icon to be displayed next to the field name
- Help text: it is possible to enter information for your users. It can be consulted, when entering data, by clicking on the
![]() which appears to the right of the field name
which appears to the right of the field name
This is how it looks on the app:
.jpg?width=225&height=500&name=T1%20(1).jpg)
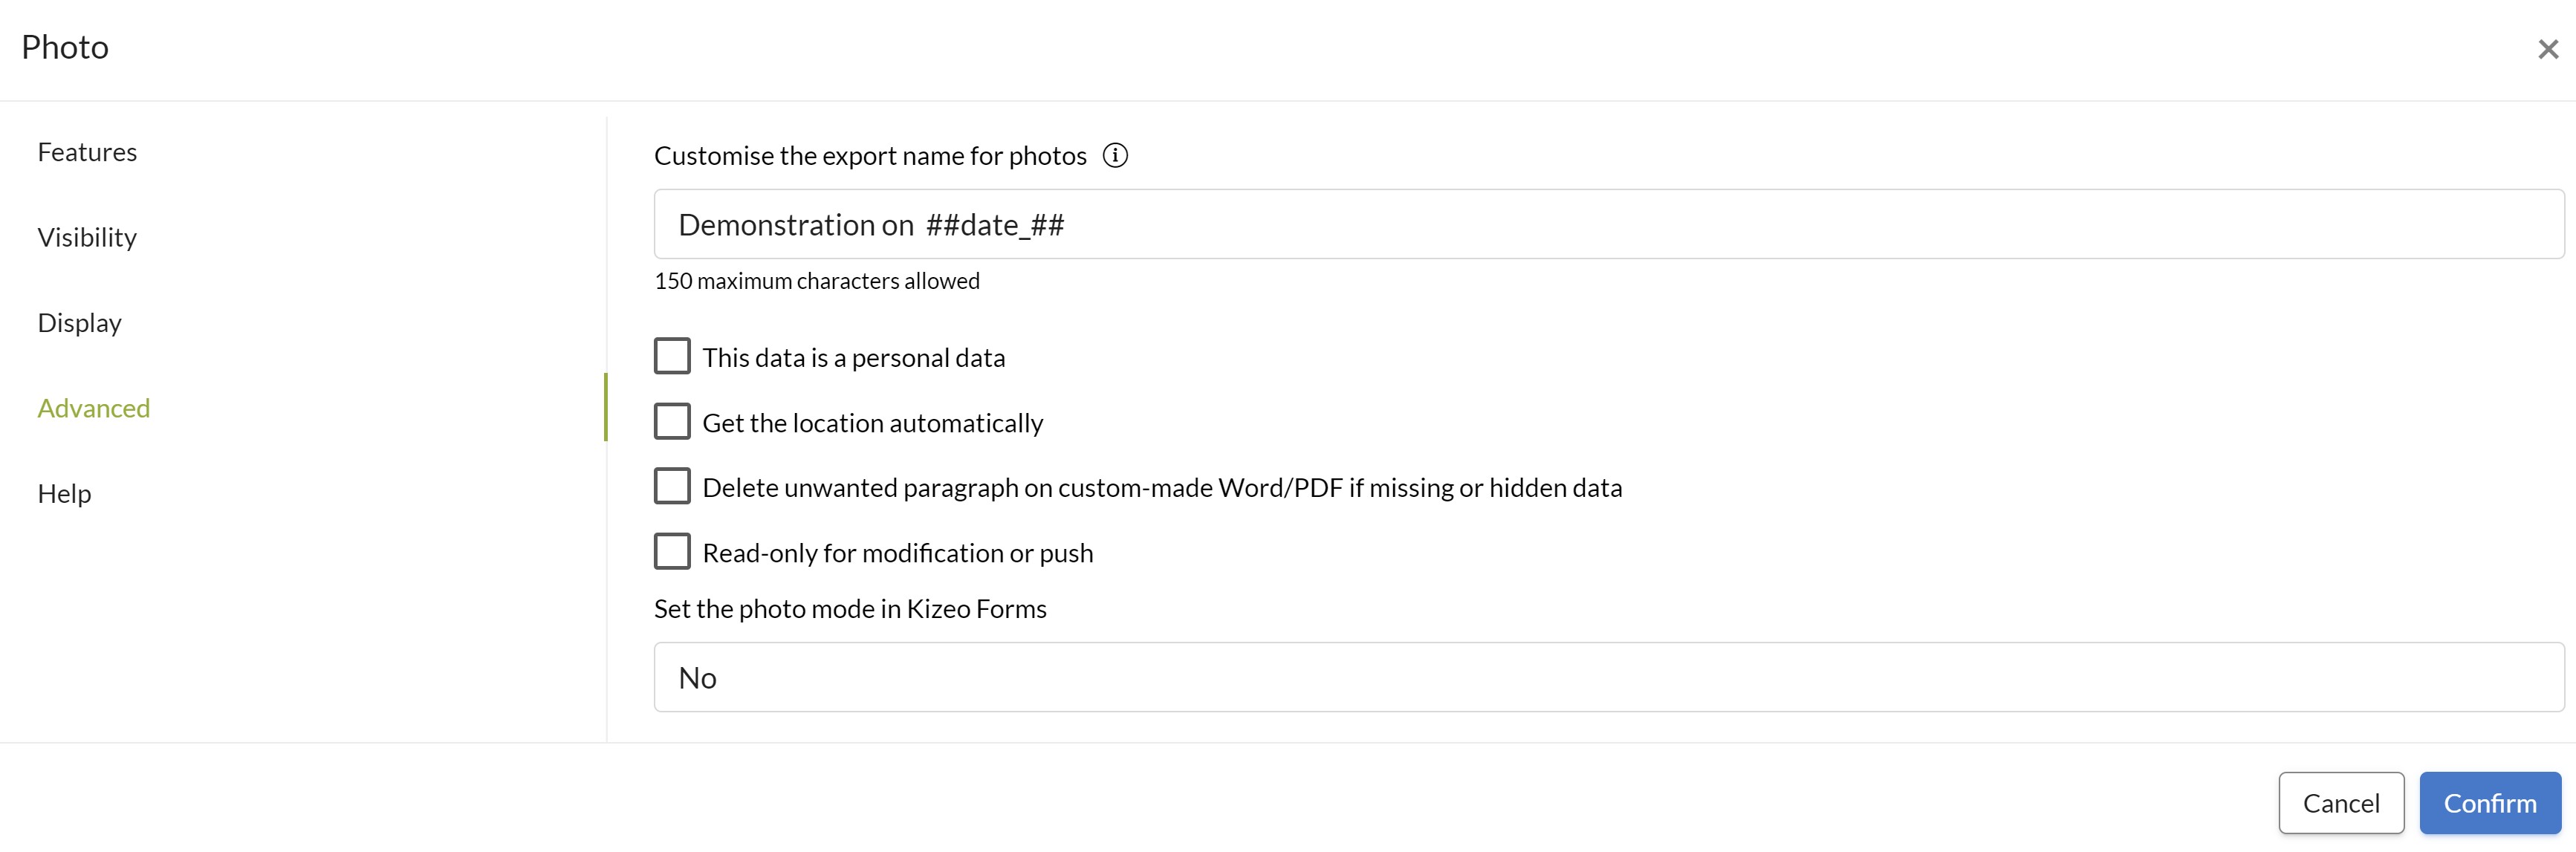
The Advanced tab
1 - Customise the export name for photos: This section allows you to enter a custom name for your media. If you wish, you can put tags on it.
For example, if in your form there is a date field with a ##date## tag, you can enter Demonstration on ##date## as the export name.
Thus, you will find this name in the following exports:
- Media
- Excel list: in the name of the media but also in the download link
- Custom Word: by putting :link in the tag of the photo field: ##photo:link##
- Standard PDF: in the download link
2 - This data is personal data: this option allows you to hide some of the personal information in the data history and to display all of it with a single click. It also allows you to obtain an Excel CSV export of the various fields tagged as containing personal data.
Do not hesitate to consult our tutorial How to adapt your forms to make them GDPR compliant?Comment adapter vos formulaires pour les rendre conformes au RGPD ?
3 - Get the location automatically: allows you to automatically record the GPS coordinates of the photo. On your custom Word or Excel files, you can use the tags ##photo:latitude## and ##photo:longitude##
4 - Delete unwanted paragraph on custom made Word/PDF if missing or hidden data: if you do not insert a photo in this field, the paragraph will not appear in your custom Word export. Do not hesitate to consult our tutorial Block tags or paragraph delete option.
5 -Read only for modification or push: the data cannot be modified after recording or when sending pre-filled data in the push.
6 -Set the photo mode in Kizeo Forms: the default setting is No, but you can force the camera to capture the image in Portrait or Landscape mode. This means that the user will be forced to take the photo in the direction imposed by this setting. If not, a notification will be displayed on the photo and he will not be able to validate it. If the user clicks on the take button, the notification will be doubled, as shown in the illustration.
Note: This feature can only be applied if the Use the device camera instead of the Kizeo Forms camera option is not checked in the mobile application settings.
.jpg?width=225&height=500&name=T2%20(1).jpg)
This tab displays the tag(s) of the field. For example :
- ##photo1## in case the field is of type Simple photo
- ##photo1:1##, ##photo1:2##, ##photo1:3## etc... in case you have enabled the Several pictures allowed option in the Features tab.
For more information...