The Contact feature allows you to capture the contact details of a person (customer, prospect, etc.). You can enter the contact details manually or import a contact already saved in your Phone's directory.
The options of the Contact element
Once the Contact element has been inserted into your form, access its options by clicking on the icon:![]() They are grouped under the tabs Features, Visibility, Display, Advanced and Help.
They are grouped under the tabs Features, Visibility, Display, Advanced and Help.
Let's have a look at the details!
The Features Tab
- The default title is Contact but you can change it if you wish.
- All sub-fields are automatically selected, so uncheck those you do not need.
- The Mandatory Entry option: by checking this box, you make the entry of the Contact element mandatory in order to be able to save the data. On the mobile application, as on the back office, a red star is displayed. It applies to the selected sub-fields when activated, but you can deactivate it on some of them by clicking on
Tip :Changing the title after saving does not affect the tag in the Help tab.
The Visibility Tab
As with all field types, you can :
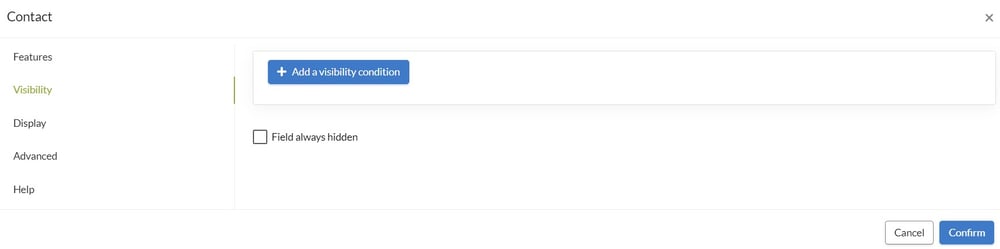
- Set one or more visibility conditions: the field will only be displayed if the condition(s) are met. The condition(s) apply to the whole field and not to sub-fields.
- If you check Field always hidden: the field will always be hidden when the data is entered.
- Unchecked: the field will always be visible during data entry.
Warning: Remember to check the option Display hidden fields on your export files if you have chosen to hide the field systematically or conditionally.
The Display tab
This tab allows you to customise the display of the field on the mobile application. The following options are available to you:
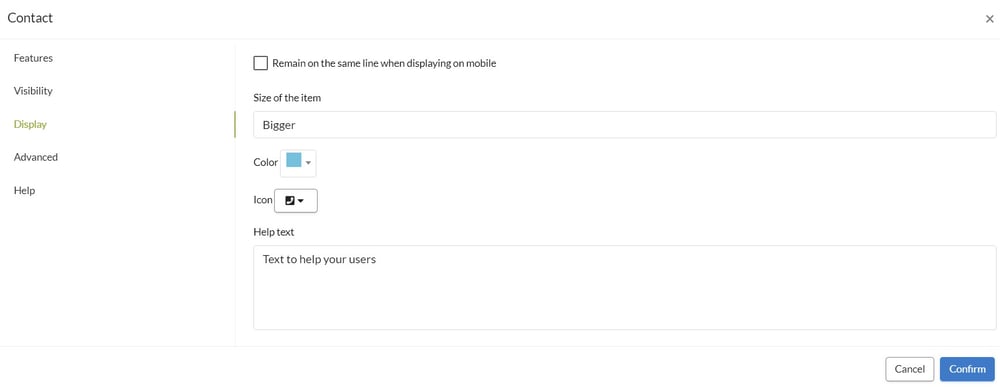
- Remain on the same line as the previous item when displayed on the mobile: this option allows two fields to be displayed side by side when data is entered, provided you have enabled the Allow multiple fields to be displayed on one line option found in the mobile application settings.
- Size of the item: This is the font size of the field name when entering data. You can choose between Normal, Larger or Smaller.
- Colour: the field name is displayed in the colour of your choice.
- Icon: Allows an icon to be displayed next to the field name.
- Help text: it is possible to enter information for your users. When entering data, it can be consulted by clicking on the below icon which appears to the right of the field name.
![]()
This is how it looks on Kizeo Forms.
The Advanced tab
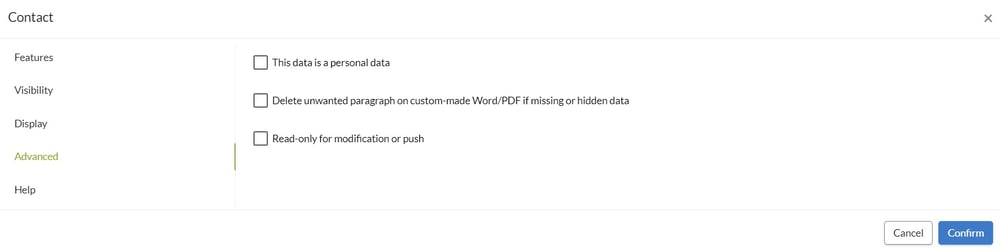
1 - This data is personal data: this option allows you to partially hide the personal information on the data history, and to be able to display all of it with a single click. It also allows you to obtain an Excel CSV export of the various fields tagged as containing personal data.
Do not hesitate to consult our tutorial How to adapt your forms to make them GDPR compliant?
2 - Delete unwanted paragraph on custom made word/pdf if missing or hidden data: if you do not enter a contact, the paragraph will not appear in your personalised Word export. Do not hesitate to consult our tutorial Block tags or paragraph delete option?
3 - Read-only for modification or push: the data cannot be modified after saving or when sending pre-filled data in push.
The help tab
This tab displays the tag for each of the sub-fields whether selected or not. You can use them in your custom export files. Here is the list:
