In the Back-office History, you can export and edit data, input forms, re-send emails, display data on a map, send pushes, and more. This tutorial will guide you through all the functions of this page. For specific functions, refer to the respective tutorials linked at the start of each section.
Accessing Your Data
- Navigate to Kizeo Forms:
- Visit https://forms.kizeo.com/
- Go to the Data tab and click on the History tab.
1. General use.
Start by selecting the form on which you wish to work and the time period.

- Display Settings: Customise your data view for easier reading or sorting. These settings are saved for future visits.
- Adjust the number of items per page (10, 25, 50, 100, or all).

- Modify columns using filters without affecting export settings. Click Change columns to select or deselect columns.

Selecting Data: Choose one or multiple data lines for export or deletion.
- Click on data lines to select (yellow) or deselect (white) them.

- Use Select all or Deselect all buttons for bulk actions.

Search Data:
- Use the Search bar to find specific entries (e.g., contact names, addresses).

- Apply filters above columns to narrow down results (e.g., typing 'Senior' in the "Position" column).

Data preview
You can see your data in web input format. To do so, click on the preview icon
2. Export your data in the format of your choice.
You can export your data in different formats: PDF, Word, Excel or CSV. Please refer to the tutorial on exporting data.
3. Edit/Modify your data.
When inputting data, you may be missing information or make an error. Here you can make alterations after input
Warning: you must authorize modification of this form beforehand! When your create or modify your form, go to its Options, on Mobile tab, check ' Enable editing of the form after its data entry'. If you wish for all users to be able to modify data, tick ' Authorize all users to modify other user's information'. In your History click on the pencil icon on the data you want to modify.
When modification is done, click on Save. These data will override the former data. [/su_spoiler]
4. Filling out a form from your computer.
The Fill out form tab, located under the Data tab, allows you to complete a form from your computer on the online platform. Please refer to the tutorial on how to fill out a form from the platform.
5. Pre-fill a form and send it to a field worker (Push).
Discover how to send your pre-completed forms from the office to the mobiles of those working for you, and follow the status of your messages. Please refer to the tutorial on the push.
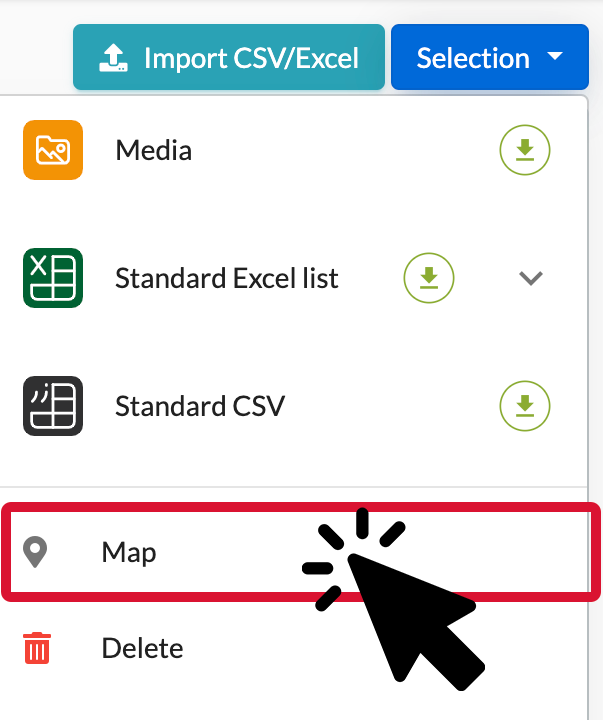
6. The Map tool.
The Map Tool displays one or more of your data from the same form on a map. For example, where your reports have been signed
Step 1: Settings.
In Option, History tab, you must select from the scroll-down lists:
- Title: this will determine the data name on the map.
- Latitude & Longitude: the name of the geolocation field to be taken into account for locating the intervention.

Step 2: Display.
Return to your form from History. From here, you can:
- Select data.
- Select several items of data following a sort.
- No data (you will see a display of all your data).
Then click on Selection and then Map.